Getting started with WhoDB (part 2)
Go from 0 to 100 with our guide on how to get started with WhoDB! Part 2 showcases the functionality.

Getting Started with Clidey's WhoDB
Welcome to our comprehensive guide on getting started with WhoDB. This set of posts will help you set up and start using WhoDB efficiently. In this guide, we will walk you through getting started with our prebuilt installers, and then go over how to manually set up and run the code in case you would like to tweak it yourself!
Part 2 will focus on steps 4-6!
Table of Contents
- Introduction to WhoDB (part 1)
- Prerequisites (part 1)
- Installation (part 1)
- Basic Usage
- Next Steps
- Troubleshooting & FAQs
Basic Usage
First, congratulations to you for making it this far.

Now, let us learn!
Once you have WhoDB up and running, navigate to http://localhost:8080 in your browser. You will be presented with the following login screen:
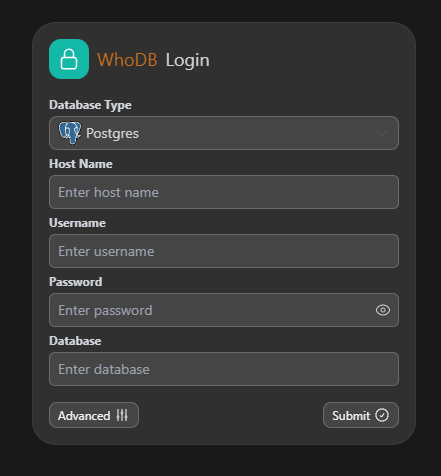
Here, you can choose which database you would like to connect to. Enter in your details, tweak any options in the Advanced section, and click Submit!
IMPORTANT: If you go for SQLite, you would need to mount the database file to /db/ inside the docker container as such:
docker run -it -v ./sample.db:/db/sample.db -p 8080:8080 clidey/whodb:latestNext Steps
Navigating the side bar
After you have connected to your database, you will be presented with a main screen and a left side bar as such:
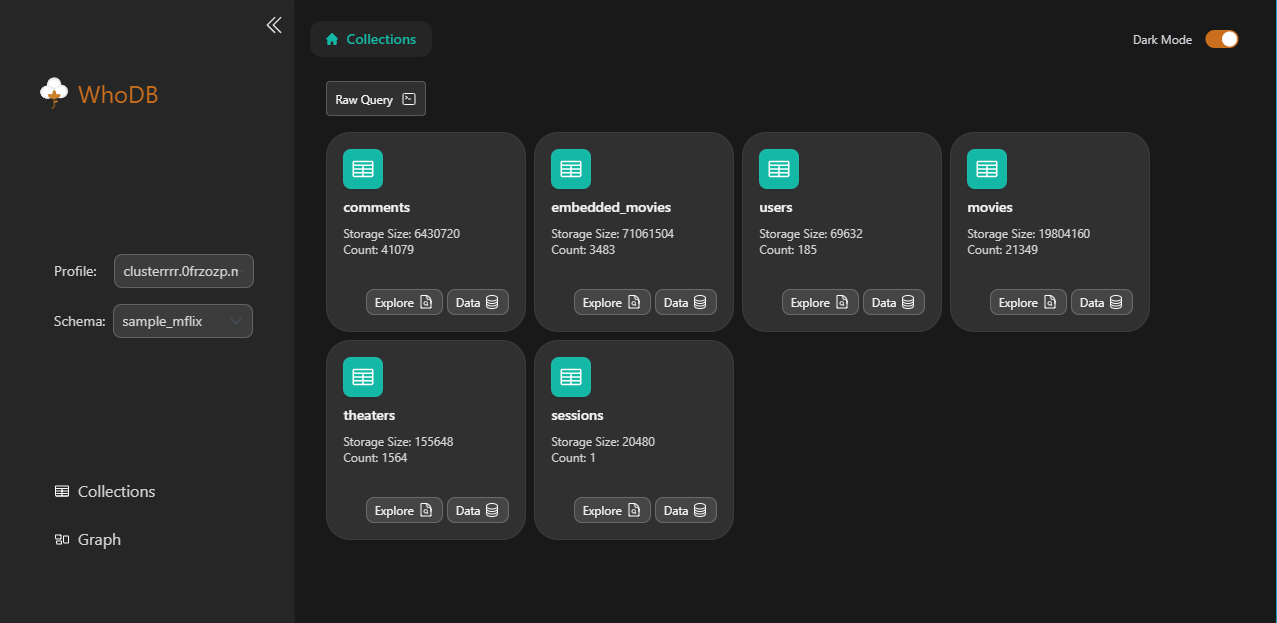
The left side bar contains the following options:
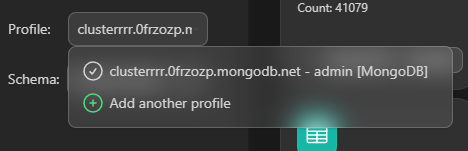
- Profile: this lets you manage your login credentials and switch between database connections:
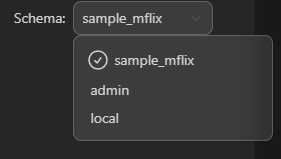
- Table Schema: this lets select the table schema you would like to view:
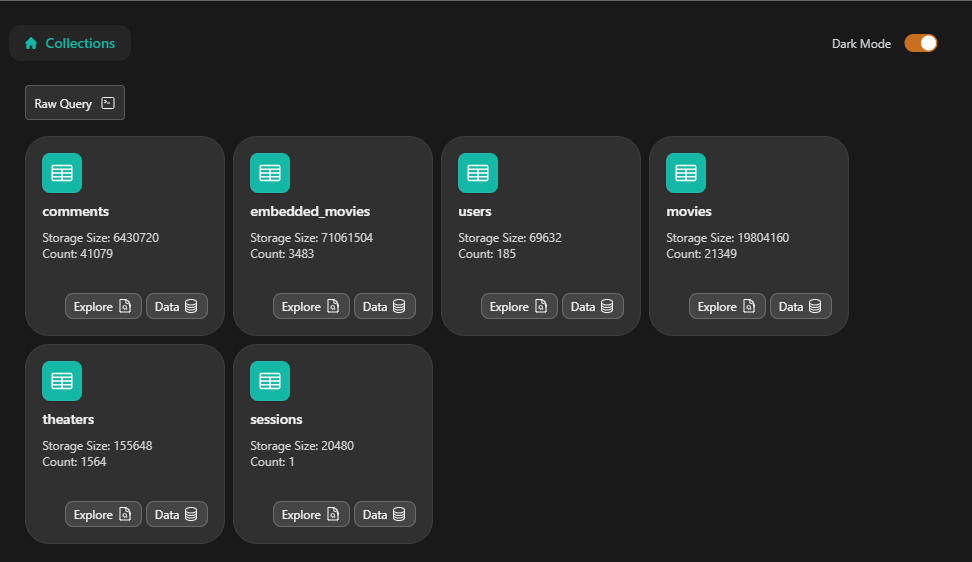
- Collections: this lets you view and explore the existing tables in the currently selected schema:
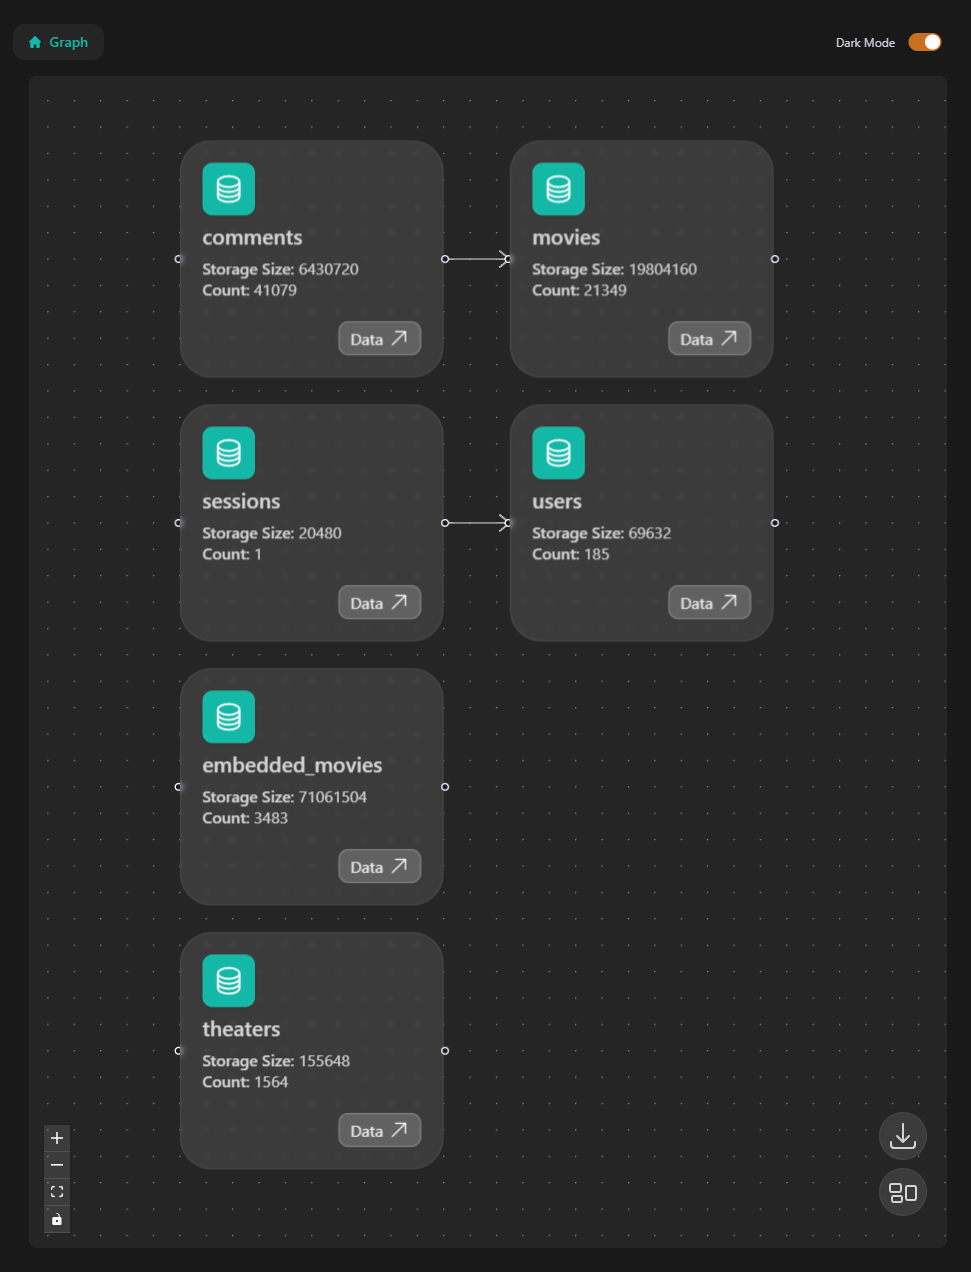
- Graph Visualization: this lets you see all of the tables in the schema and how they relate to each other:
Navigating the individual database tables
Once you have your tables in view, you can click on them to see information about the data as well as the data itself. Viewing the data takes you to a table complete with pagination and dynamically generated filters based on the existing table fields.
Within the data view, you are also able to create and update functionality. If you need to inspect the data further, there is an export functionality.
To quickly view a row, you can click and hold for a preview. Currently WhoDB supports previewing strings, JSON, and Markdown.
To edit, hit the Edit icon on the far right of the row you would like to modify. This will open a popup where you can make your changes and then save.
The delete functionality is currently in the works! Deleting is a bit more dangerous and we want to make sure that we get it right.
Note: As of writing this article, Redis does not support "set" fields to be inline edited.
Using the graph visualization
In the graph visualization view, you can see how each table is connected. It is convenient for when you need a "big picture" view. From each table in the graph, you can navigate to its data directly.
Using the scratchpad
With the scratchpad, you can perform arbitrary SQL queries directly on the data! This lets you query the data directly similar to editors like PyCharm but with the functionality of Jupyter notebooks where you can create multiple cells in one file and have multiple SQL queries saved and on the screen at once. Thus, you do not need to have multiple files open for separate queries.
Troubleshooting & FAQs
The list of databases that WhoDB currently supports is:
- PostgreSQL
- MySQL
- SQLite
- MongoDB
- Redis
- MariaDB
- Elastic Search
- Coming soon: Support for other NoSQL databases and graph databases (like Neo4JS). Make sure you watch the GitHub for the newest version as updates come quick!
If you run into any issues, please open an issue in the GitHub page.
If you would like to see any features added, please open an issue and add the Feature Request/Enhancement tag in the GitHub page.
If you do not wish to get involved with GitHub, then we are also available at support@clidey.com.
Thank you!


